Find out what is involved in a complete bathroom remodel project. Learn about budgeting considerations an the
Table of Contents
- Bathroom Design
- Bathroom Remodel
- Bathroom Renovation And Construction
- The Bathroom Renovation Process
Bathrooms are one of the simplest rooms to renovate. Bathroom renovation is work that, when done well, can add value to a property while also creating a fantastic area full of design and light.
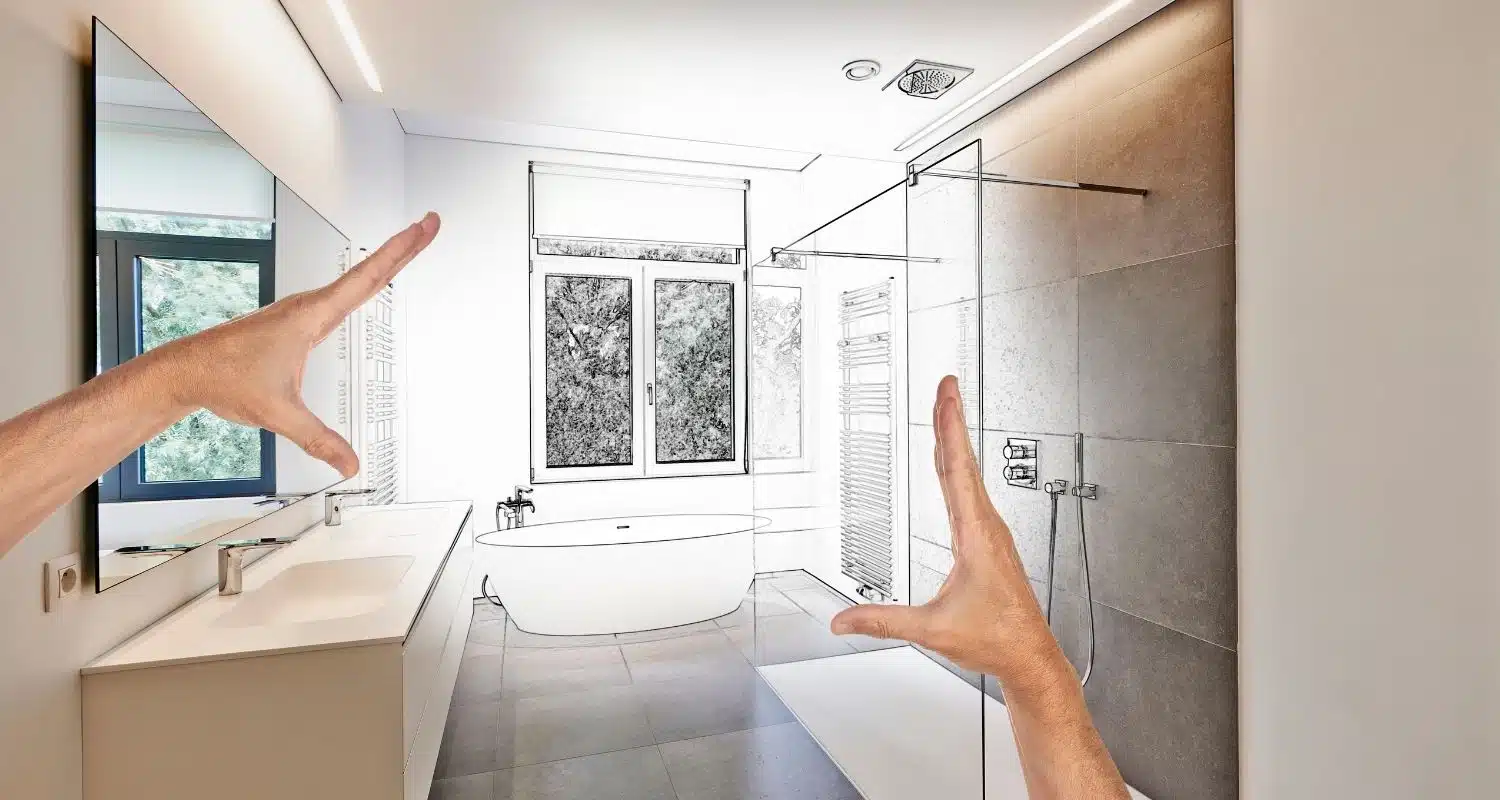
Bathroom Design
The first aspect of any bathroom makeover that you must get right is the design. It is possible that just replacing the old bathroom with the same design would not be enough. The secret to outstanding bathroom design is to create it with the people who will use it in mind. However, make sure that your bathroom design incorporates a general usage component. For example, if you were constructing a bathroom for a family, you might still have easy access to the shower and bath. This ensures that the design is also suitable for persons with restricted mobility. This implies that your design will have a greater market appeal if you decide to sell your property or renovate for profit. Great bathroom design also makes good use of space, considering light or window space, fitting size, and drainage alternatives. Make a scaled design of your room and write down the dimensions. Mark the current drainage points first, followed by the water entry sites. Make a list of the bathroom fixtures you’ll need and desire, along with their measurements. Now, combine the two and see what fits.
Bathroom Remodelling
If you have opted to undertake some of the work yourself, it is time to rent a skip bin and remove the old bathroom. If your home was built during the ’80s, you might have asbestos-containing fibro bathroom wall linings that must be removed with extreme caution. You’ll need disposable full-body overalls, eye protection, and a good dust mask. You can check with your local building authority or council about removing bathroom asbestos wall lining regulations.
Everything save the plumbing should be removed. If you leave the bathroom plumbing in place, you won’t have to cut off the water for the whole home. You will also need to jackhammer the floor tiles and the sand and cement base on which they are set.
Bathroom Renovation And Construction
Bathrooms must be built correctly from the ground up to guarantee that the completed product is accurate and true. This also guarantees that the bathroom’s design and appearance are of high quality.
The Bathroom Renovation Process
- Install water and drainage pipes, as well as electrical wiring.
- Install the wall lining and ceiling first, followed by the bath hob and bath.
- Waterproof the floor, as well as the shower and bath recesses.
- Prepare the floor for tiling by correcting the floor’s fall using sand and cement.
- Install floor and wall tiles, then grout.
- Install a new bathroom vanity, fixtures, and faucets, as well as new wiring.
- Finally, paint the ceiling and clean it well.
1st Step: Plumbing and Electrical
At this time, all new plumbing for clean hot and cold water and drainage has been installed. After arranging the new plumbing, care must be given to ensure that the plumbing fittings are accurate when the tiling is completed. To center a fitting in a shower recess, for example, you must consider the thickness of the wallboard, tile adhesive, and tile so that the fitting is centred once the tiles are in place. The same is true when installing toilet drainage pipes; the wall lining and tile thickness must be considered so that the pipe is in the proper place when the toilet is fitted after tiling. Also, run any new electrical cables without connecting them to the power supply.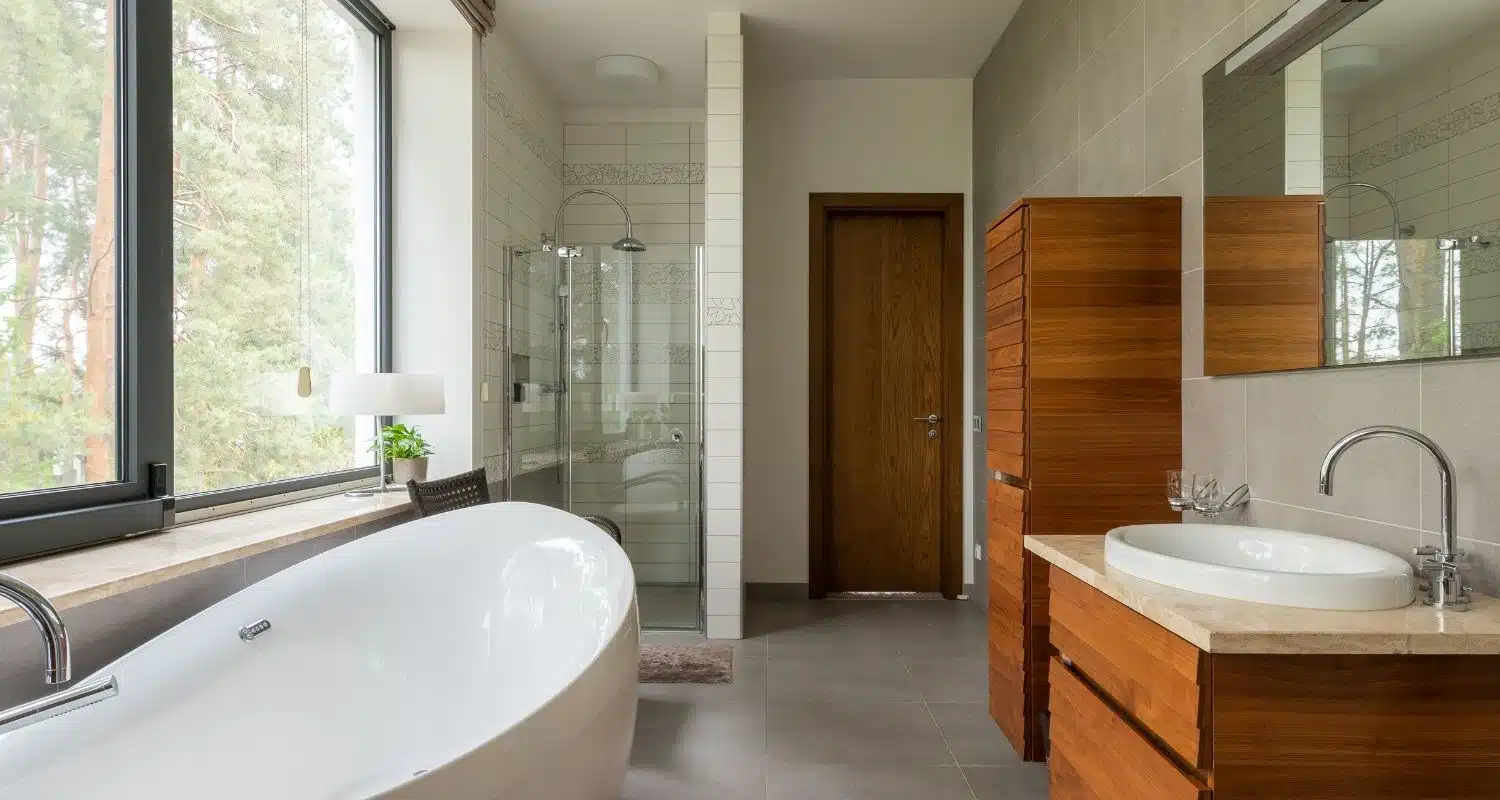
2nd Step: Install Wall Snd Ceiling Linings
Install the 6mm wall lining, taking caution not to nail the fibro board into the new pipes and electrical cables. The ideal method is to use a pencil to measure and mark the pipe and wire arrangement onto your new wallboard as you go—screw (or nail) the ceiling lining, which is usually plasterboard. However, if you put your tiles from floor to ceiling, do not add the cornice until after finishing the tiling. If you’re not tiling the ceiling, put the cornice up after the wallboard and ceiling lining are up. In addition, if your bath isn’t freestanding, you may now build the frame and install the bath. Ascertain that the bath is properly placed, taking into account the thickness of the tiles and adhesive. Before you proceed with your bathroom renovation, double-check all linings and pipes.
3rd Step: Waterproof Your Bathroom
Waterproof the floor of your bathroom, the shower recess, and the area surrounding the bath. When waterproofing the floor, be careful to extend the waterproofing 100mm up the walls. Waterproofing the shower recess 100mm above the shower rise outlet is required. In addition, the bath should be waterproofed 100mm above the bath’s rim all the way around and to the floor. Install a 25 x 25mm metal angle into the lip of the doorway, bonded in place with premium silicone and waterproofed. Your whole bathroom should now be tanked so that all water goes down the drain. Bathroom waterproofing tip: waterproofing is a simple task, but quality and precision are crucial.
4th Step: Lay In The Cement Screed For The Floor
Before installing floor tiles, the floor must be smooth and generally level, with a little fall to the drainage outlet. This necessitates the use of a sand-cement combination as well as a waterproofing chemical. Using a level, adjust the floor level at the doorway. Take the tile thickness + 10mm for the glue and use the top aluminum angle as the finished floor level. Mark the bathroom perimeter with a level, then screed in your sand and cement mix with a 1 to 3-degree fall to the top of the drain outlet. Take your time and make the final level as smooth as possible. Massage the sand cement mixture with a house brick after setting it, but it is not dry. This will minimize any small highs and lows and enable you to monitor your levels as you go. Allow the bathroom floor to dry fully before tiling on it.
5th Step: Tile Floor And Walls
After all of your bathroom tiles have been cut and set, grout them all and then buff them clean. First, lay your tiles on the floor, followed by the grout. Then, when you put your wall tiles, make sure they are level.
6th Step: Install Plumbing Fitting And Fixtures
Install all of your plumbing fixtures and faucets. Fits all of your towel rails and soap holders. Install your new bathroom vanity, ensuring its level and sealing the top with silicone. Before drilling into your tiles, ensure they’re in the appropriate spot.
7th Step: Painting, And Cleaning
Paint your ceiling and give it a last clean to ensure that everything is in working order and that your plumbing is free of leaks. – Take pleasure in your new bathroom.
< Previous | Home | Next >